SSH (Secure Shell) is an essential tool for managing IoT devices remotely, and Raspberry Pi remains one of the most popular platforms for IoT enthusiasts and professionals alike. If you're looking to enhance your remote access capabilities, understanding the best SSH IoT device options for Raspberry Pi is crucial. This guide will provide you with detailed insights into the best practices, tools, and techniques to streamline your remote management experience.
In today's interconnected world, the ability to manage IoT devices remotely is no longer a luxury but a necessity. Whether you're a hobbyist tinkering with personal projects or a professional overseeing large-scale IoT deployments, secure and efficient remote access is key. This article will delve into the top SSH IoT devices and configurations tailored specifically for Raspberry Pi users.
By the end of this guide, you'll have a solid understanding of how to set up, secure, and optimize your Raspberry Pi for remote SSH access. Let's dive in and explore the best solutions available to elevate your IoT experience.
Read also:Nicole Nafziger The Untold Story Of Her Life And Journey
Table of Contents
- Introduction to SSH and IoT Devices
- Raspberry Pi Basics and SSH Compatibility
- Best SSH IoT Devices for Raspberry Pi
- Setting Up SSH on Raspberry Pi
- Securing Your SSH Connection
- Optimizing SSH Performance
- Common Issues and Troubleshooting
- Alternative Remote Access Tools
- Real-World Use Cases
- Conclusion and Next Steps
Introduction to SSH and IoT Devices
SSH, or Secure Shell, is a network protocol that allows users to securely access and manage remote devices over an unsecured network. In the realm of IoT, SSH plays a pivotal role in enabling users to control and monitor their devices from anywhere in the world. For Raspberry Pi users, SSH is indispensable for managing their projects remotely.
Why SSH is Essential for IoT Devices
SSH ensures secure communication between your local machine and remote IoT devices, encrypting all data exchanged during the session. This is particularly important for IoT devices, which are often deployed in environments where security vulnerabilities can lead to significant risks.
- Encryption ensures data integrity and confidentiality.
- SSH provides a robust authentication mechanism, reducing the risk of unauthorized access.
- It supports various configurations, making it highly versatile for different IoT applications.
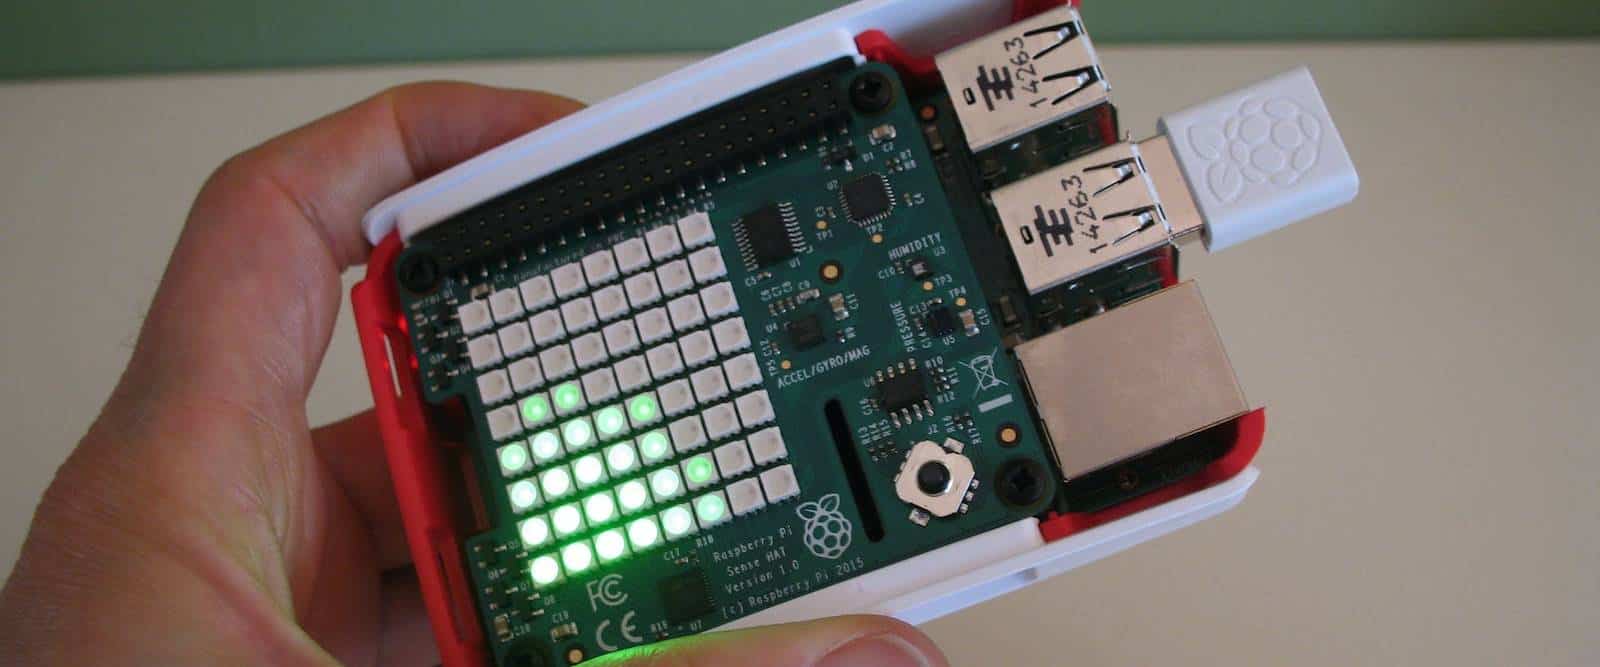
Raspberry Pi Basics and SSH Compatibility
Raspberry Pi, a compact and affordable single-board computer, has become a staple in the IoT community. Its compatibility with SSH makes it an ideal platform for remote device management. Understanding the basics of Raspberry Pi and its SSH capabilities is crucial for maximizing its potential.
Key Features of Raspberry Pi
- Compact size and low power consumption.
- Supports a wide range of operating systems, including Raspbian, Ubuntu, and more.
- Highly customizable hardware and software configurations.
Raspberry Pi's versatility extends to its SSH capabilities, allowing users to configure and manage their devices remotely with ease. Whether you're running a headless setup or managing multiple IoT devices, SSH provides the necessary tools to maintain control over your projects.
Best SSH IoT Devices for Raspberry Pi
When it comes to selecting the best SSH IoT device for your Raspberry Pi, several factors must be considered, including security, performance, and ease of use. Below are some of the top options available:
1. Raspberry Pi 4 Model B
The Raspberry Pi 4 Model B stands out as one of the best SSH IoT devices due to its powerful hardware and robust SSH capabilities. With 4GB of RAM and a quad-core processor, it can handle demanding remote tasks with ease.
Read also:Discover The Allure Of Diva Flawless Ed Unveiling Beauty Confidence And Style
2. Raspberry Pi Zero W
For budget-conscious users, the Raspberry Pi Zero W offers a compact and affordable solution for SSH-based IoT projects. Its built-in Wi-Fi and Bluetooth capabilities make it ideal for wireless remote access.
3. Raspberry Pi 3 Model B+
Striking a balance between performance and cost, the Raspberry Pi 3 Model B+ is a popular choice for SSH IoT setups. Its improved wireless connectivity and processor speed make it a reliable option for remote device management.
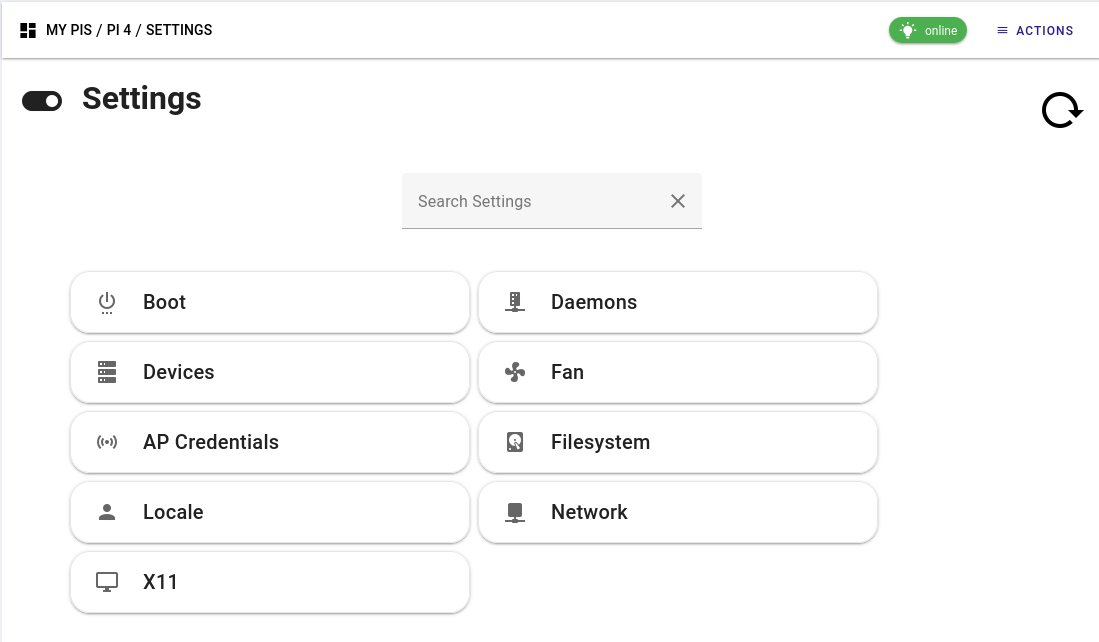
Setting Up SSH on Raspberry Pi
Setting up SSH on Raspberry Pi is a straightforward process that can be completed in a few simple steps. Below is a step-by-step guide to help you get started:
Step 1: Enable SSH
To enable SSH on your Raspberry Pi, follow these steps:
- Boot your Raspberry Pi and log in to the operating system.
- Open the terminal and type
sudo raspi-config. - Navigate to "Interfacing Options" and select "SSH".
- Choose "Yes" to enable SSH and reboot your device.
Step 2: Connect via SSH
Once SSH is enabled, you can connect to your Raspberry Pi from a remote machine using an SSH client like PuTTY or Terminal on macOS. Simply enter the IP address of your Raspberry Pi and log in using your credentials.
Securing Your SSH Connection
Securing your SSH connection is vital to protect your IoT devices from unauthorized access. Below are some best practices to enhance the security of your SSH setup:
1. Change Default SSH Port
Changing the default SSH port (22) can deter automated attacks. To do this, edit the SSH configuration file:
- Open the file with
sudo nano /etc/ssh/sshd_config. - Change the "Port" value to a custom number (e.g., 2222).
- Restart the SSH service with
sudo service ssh restart.
2. Use Key-Based Authentication
Key-based authentication is a more secure alternative to password-based login. To set it up:
- Generate an SSH key pair using
ssh-keygen. - Copy the public key to your Raspberry Pi using
ssh-copy-id user@raspberrypi. - Disable password authentication in the SSH configuration file.
Optimizing SSH Performance
Optimizing SSH performance can significantly enhance your remote access experience. Here are some tips to improve the efficiency of your SSH setup:
1. Use Compression
Enabling compression can speed up data transfer over slow networks. To enable compression, add the following line to your SSH configuration file:
Compression yes
2. Adjust Cipher Settings
Choosing the right cipher settings can balance security and performance. Consider using AES-128 for faster encryption without compromising security.
Common Issues and Troubleshooting
Even with the best configurations, issues can arise when using SSH for IoT devices. Below are some common problems and their solutions:
1. Connection Refused
If you receive a "Connection refused" error, ensure that:
- SSH is enabled on your Raspberry Pi.
- The IP address and port number are correct.
- Firewall rules allow SSH traffic.
2. Permission Denied
A "Permission denied" error typically indicates an authentication issue. Verify that:
- Your SSH keys are correctly configured.
- Password authentication is enabled if you're using passwords.
Alternative Remote Access Tools
While SSH is the go-to solution for remote IoT device management, several alternative tools are worth considering:
1. VNC
VNC (Virtual Network Computing) allows you to remotely access the graphical interface of your Raspberry Pi, making it ideal for projects requiring visual interaction.
2. Web-Based Interfaces
Web-based interfaces, such as Node-RED, provide a user-friendly way to manage IoT devices through a browser.
Real-World Use Cases
The versatility of SSH on Raspberry Pi makes it suitable for a wide range of applications. Below are some real-world use cases:
1. Home Automation
SSH enables users to remotely control smart home devices, such as lights, thermostats, and security systems.
2. Remote Monitoring
In industrial settings, SSH can be used to monitor and manage IoT sensors and actuators from a central location.
Conclusion and Next Steps
In conclusion, SSH is an indispensable tool for managing IoT devices remotely, and Raspberry Pi offers an excellent platform for implementing secure and efficient SSH setups. By following the guidelines outlined in this article, you can optimize your SSH experience and unlock the full potential of your IoT projects.
We encourage you to experiment with different configurations and explore alternative tools to find the best solution for your specific needs. Don't forget to share your thoughts and experiences in the comments section below. For more insights into IoT and Raspberry Pi, explore our other articles and resources.
Data Sources: Raspberry Pi Foundation, SSH.com, Cisco.